Hello,
Hope someone can help me with this problem.
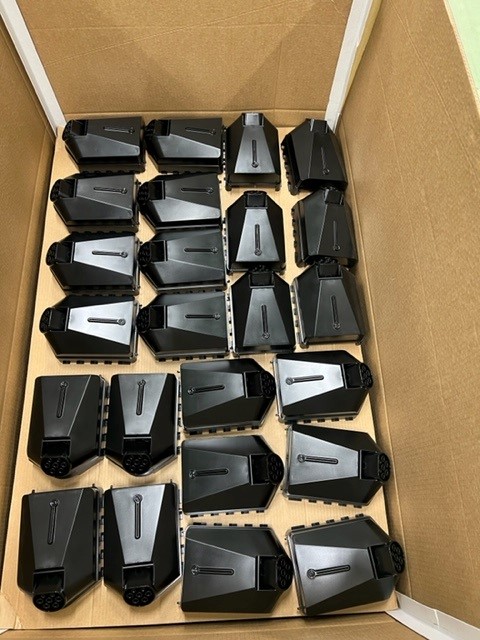
Is it possible to Palletizing products as in the picture, first picture
Is it possible to use wizard pallet for this?
Does anyone have a suggestion on how I can achieve this?
It also should be 14 layers.
Or must i use a 3parts software?
Hello, i will try to help u as much as i can.
In my opinon, the best solution is to choose an irregular pattern and teach each object position so u can set the rotation manually for each item.
I hope it will help u
Thanks for reply.
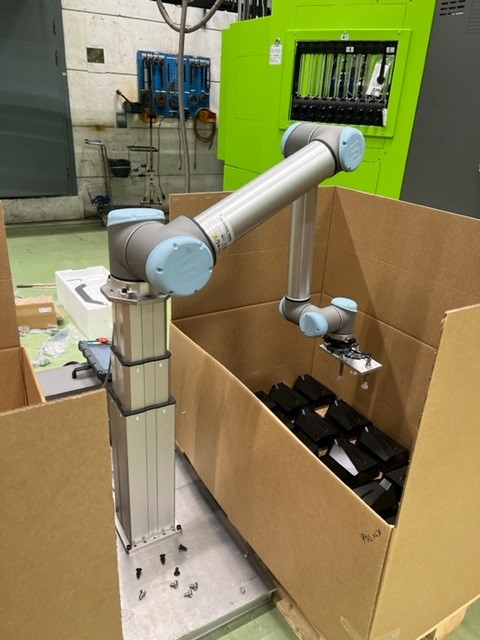
I have a ur10 cb3 from 2019, not e.
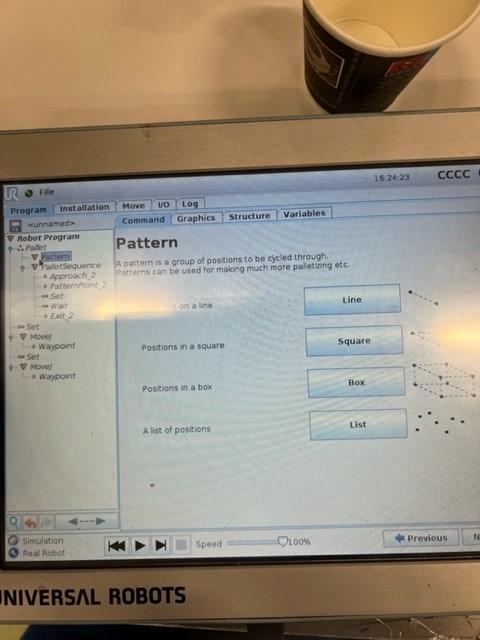
Cant find irregular on my software? or is it not under pallet wizard.
I don’t know which version i use but on mine, on the palletizing wizard when we add it in our programm, we click on the template so we can choose linear, regular or irregular pattern and then it create 3 items (for irregular).
If u don’t find it with these notes, i don’t know how to do it sorry.
ok,
I have something called list, maybe this is the same.

Then i can place the item where i want.
A huge problem with this is that i must make å position for every item. if i have 22 item in one layer and if i need 11 layer it will be 242 waypoint.
It would help a lot if i just could do waypoint for the first layer and the basepoint was raised for every layer…
On my version, we can duplicate pattern so u set only the first layer, maybe u have this
Very new at this, so am not sure. can`t find it yet…hopefully someone can give me a hint;)
If palletizing doesn’t work you could also teach your custom positioning to a “feature plane” and use pose_add() function to adjust the z-height of the feature plane each time, then just throw this in a loop for however many times you need.
You cannot make that palletizing application with a single CB-series Pallet command.
If it was up to me, I would use variables and calculate each position by offsetting the distance from center part to center part and adding rotation where needed. But if you’re new to programming, that might be a bit difficult.
You might be able to make 4 Pallet commands with box-patterns. But you will have to switch between them when a layer is done with If expressions or a Switch command.
michael.r.mercer’s suggestion is also a good idea and might be the easiest to accomplish, but will still need you to learn how to work with planes. ![]()
EDIT: I had a few minutes to spare. I made you a sample program below. You can download it, unzip it and put it on a USB drive and insert it in your robot, and then you should be able to run the program on your own robot and see what happens. ![]()
Documents.zip (4.4 KB)
Thank for the program sample;)
It did work in a way, but it did go to DelPos1-5 at once.
It must first go to Delpos 1 and next time Delpos 2.
I see that from a other post the did it like this.
Did copy the text:
I figured out how add multiple layers to a palletize function and we can also brainstorm on how to get the separator sheet in there.
Here is how i did it.
I have a pallet pattern of the first layer of whatever i need (in my case a list).
I make 2 variables: LayerHeight (integer) and TotalHeight (integer).
In my pallet function i add an “after end”. In this function i increment LayerHeight and TotalHeight with 1.
Now to have the robot change in height for every layer, i add the following line to the after end function
“pose_1[2] := pose_1[2] + ProductHeight”
ProductHeight here is the height of you product (Not in mm but in meters!!!)
and pose_1 is the position variable used by the pallet function. You need to check whether your program uses pose_1 or some other number
Now to add the separator sheet you can do something like the following:
You want to add a sheet every 2 layers right?
In the after end function, you check if your layer height = 2, then run a program to pick a separator sheet and place it. You need to make the height variable here again. You can do this the same way, or you use the get_actual_tcp() function. be creative ![]()
Then at the end of your separator sequence you write LayerHeight back to 0 to reset the.
Obviously the names of variables can be changed to whatever your like and what fits your project.
Let me know if helped you figure it out and if you have things to add for future readers with the same problem, i’m curious!
Kind Regards,
Jan
And here is the link to the post
The idea with my program is to place your whole layer in the code with a separate waypoint for each. Then the variable z-shift is done after each layer is done. ![]()
You can make a loop that loops the pickup waypoints and then a switch command to switch between your delivery waypoints for example. That should not be too difficult. ![]()

